The Pattern: The Brooke Dress and Top
The Author: Little Lizard King
Pattern Difficulty: 1 out of 5
 |
| Fabric and Pattern |
Why I chose this pattern:
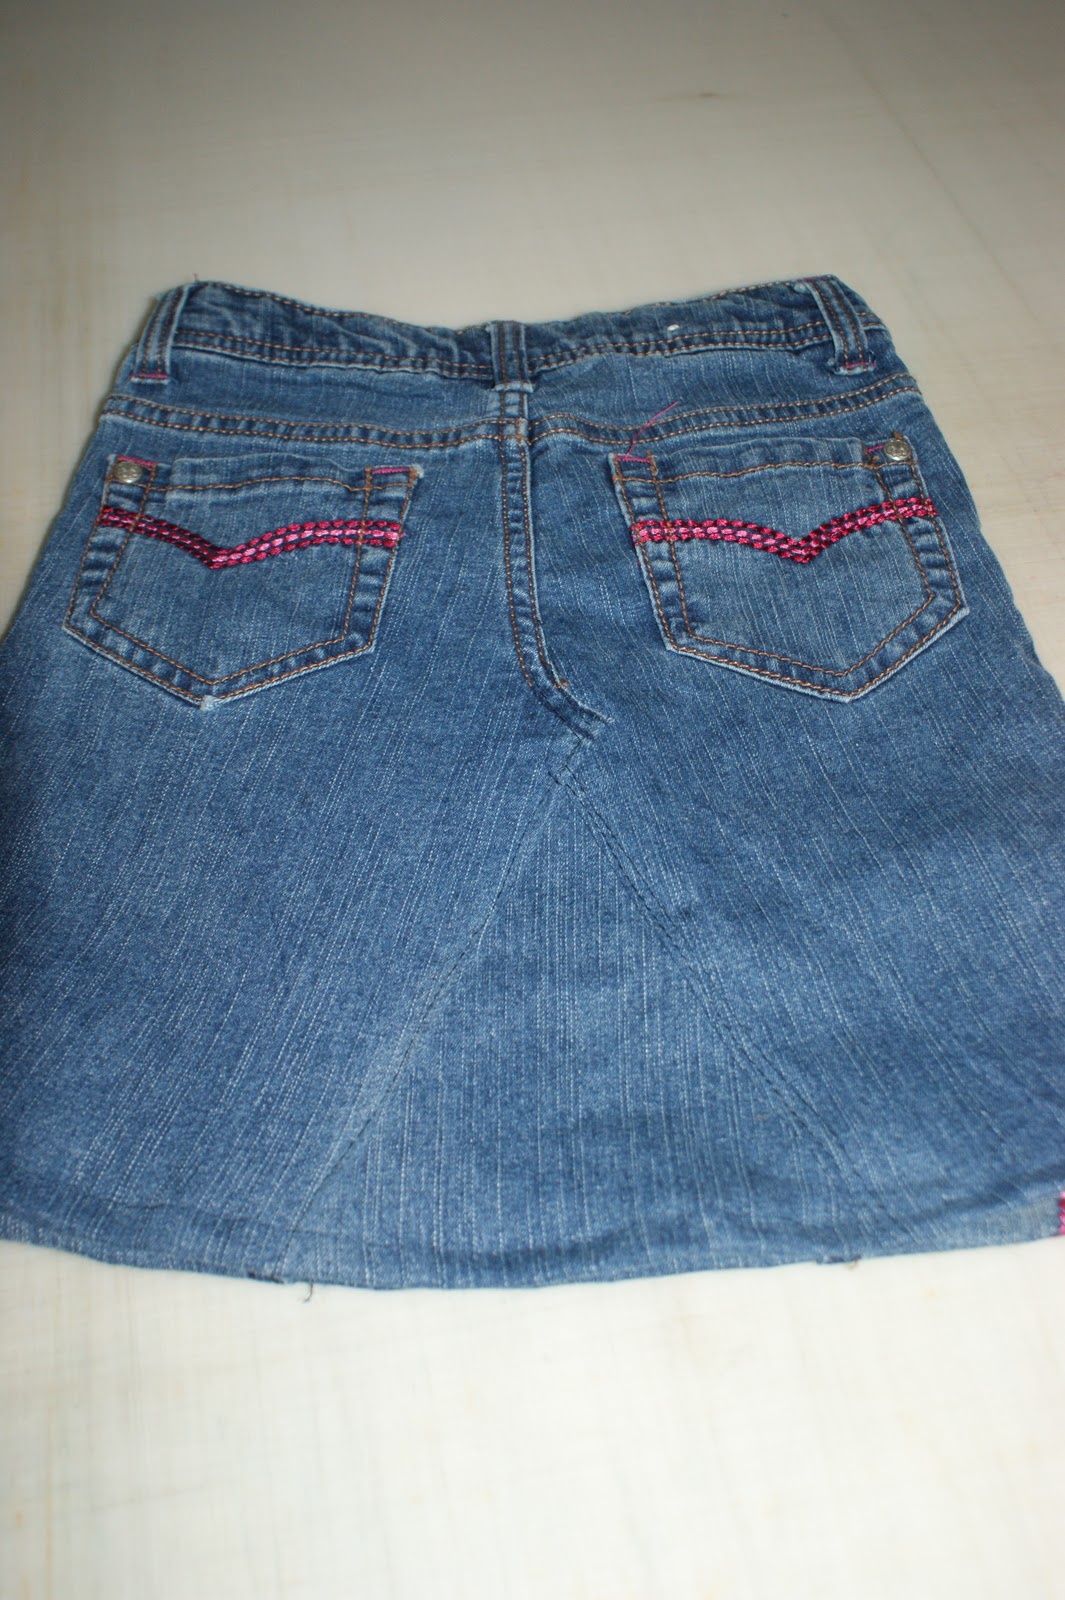
I had one of my best friend's little girls had a birthday a couple week ago. Since little girls all love spinning dresses and princesses, what better to make than a spinning skirt with princesses embroidered on it. The only problem I have was I needed a top to match (not many people have princess tops laying around). Thankfully I had the awesome Brooke Dress and top in my pattern stash. Giving me the chance to not only make a wonderful birthday gift for this special little girl, but also to knock out my first sewing challenge for January.
What I disliked about the pattern:
There wasn't a lot I didn't like about the pattern. However, if I had to pick a couple things;
-I would have liked to see more pictures of the different variations on this pattern, particularly in the sleeves. -Personally I like more pictures with models showing off a finished pattern since it helps to inspire me with different fabric combinations etc.
-I also would have liked to have seen a casing option for the shorter sleeve, although that was easy enough to add on, so not a huge deal.
What I liked about the pattern:
-I found the directions easy to follow and the pictures were very thorough and helpful.
-I was able to make my first top start to finish (including cutting) in 1 hour and 15 mins. This time included reading through the new pattern, cutting, and sewing (with lots of stops for re-reading). After the first top, I was able to go back and make another 3 dresses and 1 top in about 2-3 hours (including cutting).
-I loved the fact that with a yd of fabric I was able to make 2 tops or dresses, depending on the size.
-The sleeve options gave me very different looks and I LOVED that. I was able to make a few short sleeve options for my friends here in FL, and some longer sleeved options for my friends in OR.
-The pattern printed out wonderfully, giving me little opportunity for error.
-Since this is an e pattern, I was also able to save it to my hard drive and will be able to print it out over and over.
- It also have a very large size range, going from doll size (which you could use on a premie or infant) up to size 12.
- I found the sizing pretty true to store bought clothing as well. I guessed my friends kids sizes based on their ages and sizes and the outfits fit wonderfully.
- This pattern was super fun to make and very, very versatile.
<
<Brooke Top- Short sleeve option 4T (I bought 1 yd of these 2 fabrics which was enough to make a twirl skirt and this top, plus a couple of bows)
Brooke Dresses- Short Sleeve Option >
(I bought 1 yd of each fabric and was able to make both dresses, plus have enough left over for either 1 more small dress, or multiple hairbows)
Things I changed or improvised on:
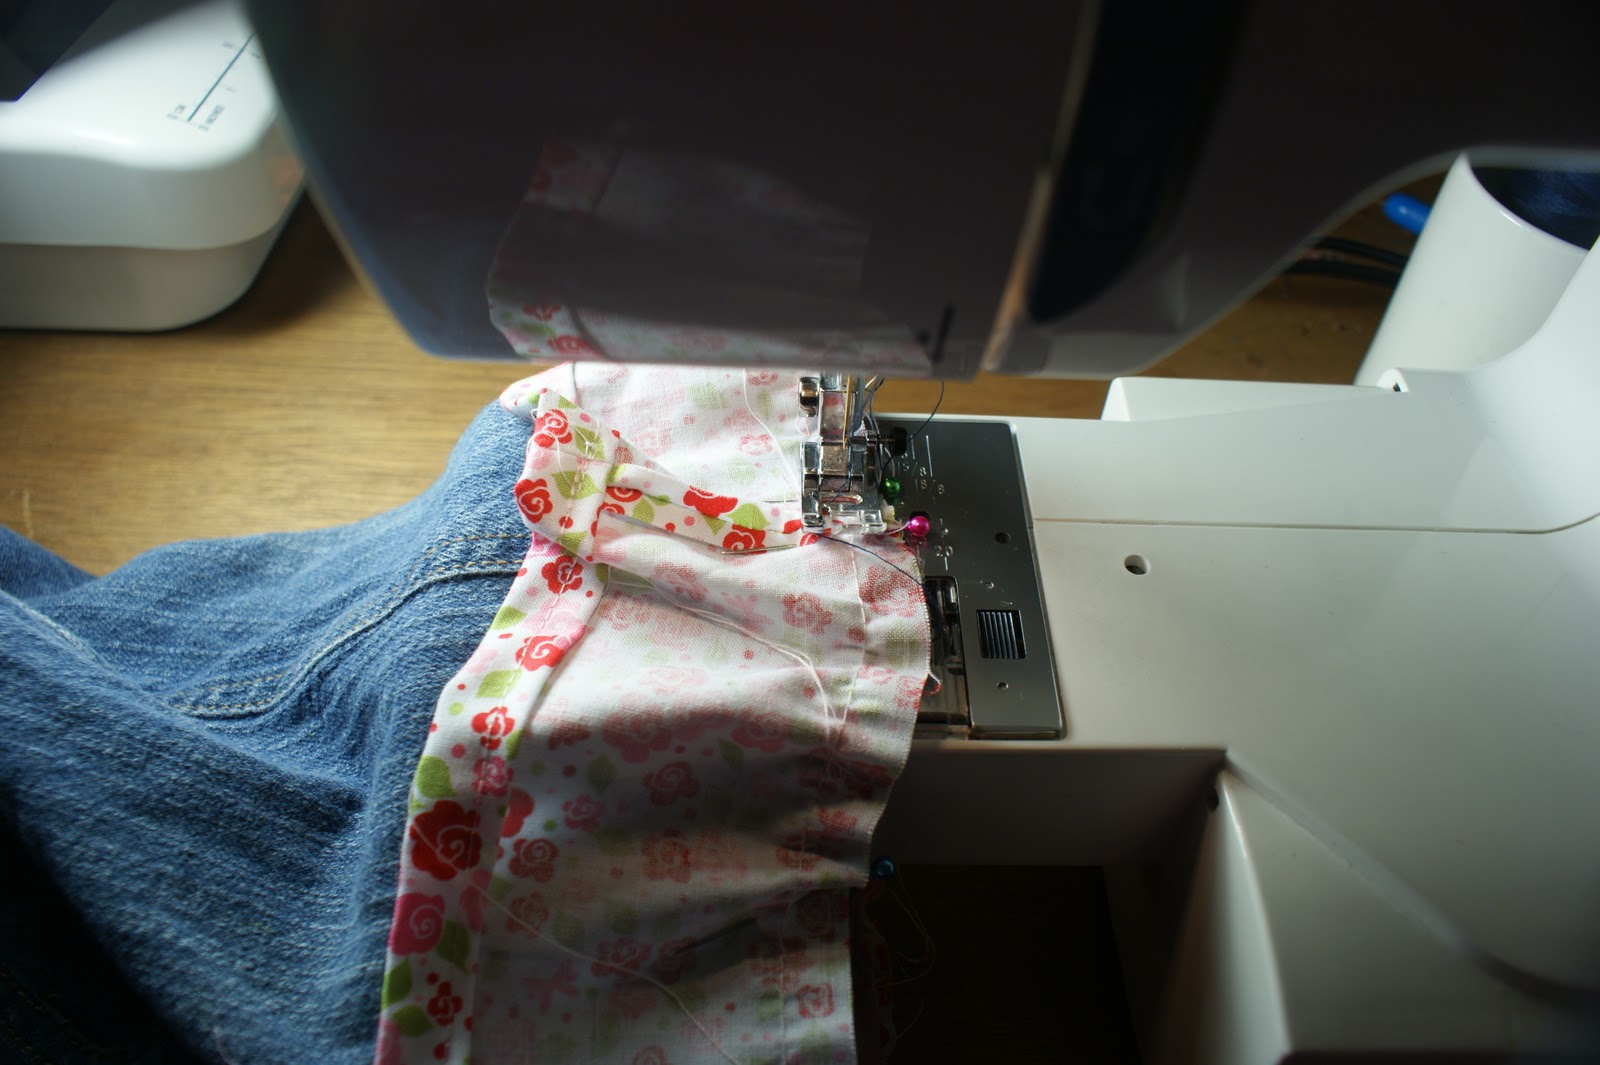
Since this pattern was so versatile, there were a couple things I felt I could easily change, without really changing the spirit of the pattern. For 1, I added a sleeve casing on the short sleeved options. The pattern called for the elastic to just be sewn into the sleeve, leaving it exposed to the child's skin, personally I didn't like this, so I just folded over my "hem" 1 more time to make the casing. This did take a little more fabric than I originally anticipated, especially on the smaller dress, since those sleeves are already so tiny. Next time I will be sure to add a little to the length of the sleeves to make the casing a little easier to make. I also sewed this together in a little bit of a different order than called for. For instance, after cutting out the pieces, I sewed the boarder on first, then the sleeves, etc. I also always press where my hem is going to be before I start sewing, it makes it MUCH easier to get the hem to come out mice and neat. I did not use the allotted seam allowance (I used 3/8", out of habit), and I did serge all the seams.
Other changes I plan to make:
Next time I make this top/ dress I think I'm going to try a 3/4 sleeve and add a ruffle to the bottom of the sleeve and the top/ dress. I'd like to see how that looks, I think it would make for some super cute dresses.
Would I make this pattern again?
I definitely plan to make this again. At least 5 or 100 more times. This is perfect for last minute birthday gifts, stash buster days, giveaways, baby showers, or even "pillow case" type dress drives. I think these dress came out beautiful. I only wish I had more pictures of all these pretty little girls wearing their dresses. I'll edit and add them once I grab some pictures :)
Would you recommend this pattern to a beginner?
I definitely think this is a beginner pattern. I plan to teach my 12 year old how to make it, since I feel it's just that simple. This pattern had few pattern pieces, easy to follow directions, and was very simple to put together. I feel anyone that can sew a straight stitch could easily do this.
I was not paid nor did I receive compensation of any kind to write this review. This is a pattern I purchased for myself and decided to to a review on. The opinions within this post are solely those of the author. If you have any questions or if there is something you would like me to add to the next review please jot me a note.
There wasn't a lot I didn't like about the pattern. However, if I had to pick a couple things;
-I would have liked to see more pictures of the different variations on this pattern, particularly in the sleeves. -Personally I like more pictures with models showing off a finished pattern since it helps to inspire me with different fabric combinations etc.
-I also would have liked to have seen a casing option for the shorter sleeve, although that was easy enough to add on, so not a huge deal.
What I liked about the pattern:
-I found the directions easy to follow and the pictures were very thorough and helpful.
-I was able to make my first top start to finish (including cutting) in 1 hour and 15 mins. This time included reading through the new pattern, cutting, and sewing (with lots of stops for re-reading). After the first top, I was able to go back and make another 3 dresses and 1 top in about 2-3 hours (including cutting).
-I loved the fact that with a yd of fabric I was able to make 2 tops or dresses, depending on the size.
-The sleeve options gave me very different looks and I LOVED that. I was able to make a few short sleeve options for my friends here in FL, and some longer sleeved options for my friends in OR.
-The pattern printed out wonderfully, giving me little opportunity for error.
-Since this is an e pattern, I was also able to save it to my hard drive and will be able to print it out over and over.
- It also have a very large size range, going from doll size (which you could use on a premie or infant) up to size 12.
- I found the sizing pretty true to store bought clothing as well. I guessed my friends kids sizes based on their ages and sizes and the outfits fit wonderfully.
- This pattern was super fun to make and very, very versatile.
 |
| Dress Short Sleeve Option |
 |
| Top Short Sleeve Option |
<Brooke Top- Short sleeve option 4T (I bought 1 yd of these 2 fabrics which was enough to make a twirl skirt and this top, plus a couple of bows)
Brooke Dresses- Short Sleeve Option >
(I bought 1 yd of each fabric and was able to make both dresses, plus have enough left over for either 1 more small dress, or multiple hairbows)
 |
| This is a very special Tinkerbell dress I made for a little princess that loves fairies. This dress was done with the 3/4 sleeve option |
Since this pattern was so versatile, there were a couple things I felt I could easily change, without really changing the spirit of the pattern. For 1, I added a sleeve casing on the short sleeved options. The pattern called for the elastic to just be sewn into the sleeve, leaving it exposed to the child's skin, personally I didn't like this, so I just folded over my "hem" 1 more time to make the casing. This did take a little more fabric than I originally anticipated, especially on the smaller dress, since those sleeves are already so tiny. Next time I will be sure to add a little to the length of the sleeves to make the casing a little easier to make. I also sewed this together in a little bit of a different order than called for. For instance, after cutting out the pieces, I sewed the boarder on first, then the sleeves, etc. I also always press where my hem is going to be before I start sewing, it makes it MUCH easier to get the hem to come out mice and neat. I did not use the allotted seam allowance (I used 3/8", out of habit), and I did serge all the seams.
Other changes I plan to make:
Next time I make this top/ dress I think I'm going to try a 3/4 sleeve and add a ruffle to the bottom of the sleeve and the top/ dress. I'd like to see how that looks, I think it would make for some super cute dresses.
Would I make this pattern again?
I definitely plan to make this again. At least 5 or 100 more times. This is perfect for last minute birthday gifts, stash buster days, giveaways, baby showers, or even "pillow case" type dress drives. I think these dress came out beautiful. I only wish I had more pictures of all these pretty little girls wearing their dresses. I'll edit and add them once I grab some pictures :)
Would you recommend this pattern to a beginner?
I definitely think this is a beginner pattern. I plan to teach my 12 year old how to make it, since I feel it's just that simple. This pattern had few pattern pieces, easy to follow directions, and was very simple to put together. I feel anyone that can sew a straight stitch could easily do this.
I was not paid nor did I receive compensation of any kind to write this review. This is a pattern I purchased for myself and decided to to a review on. The opinions within this post are solely those of the author. If you have any questions or if there is something you would like me to add to the next review please jot me a note.


