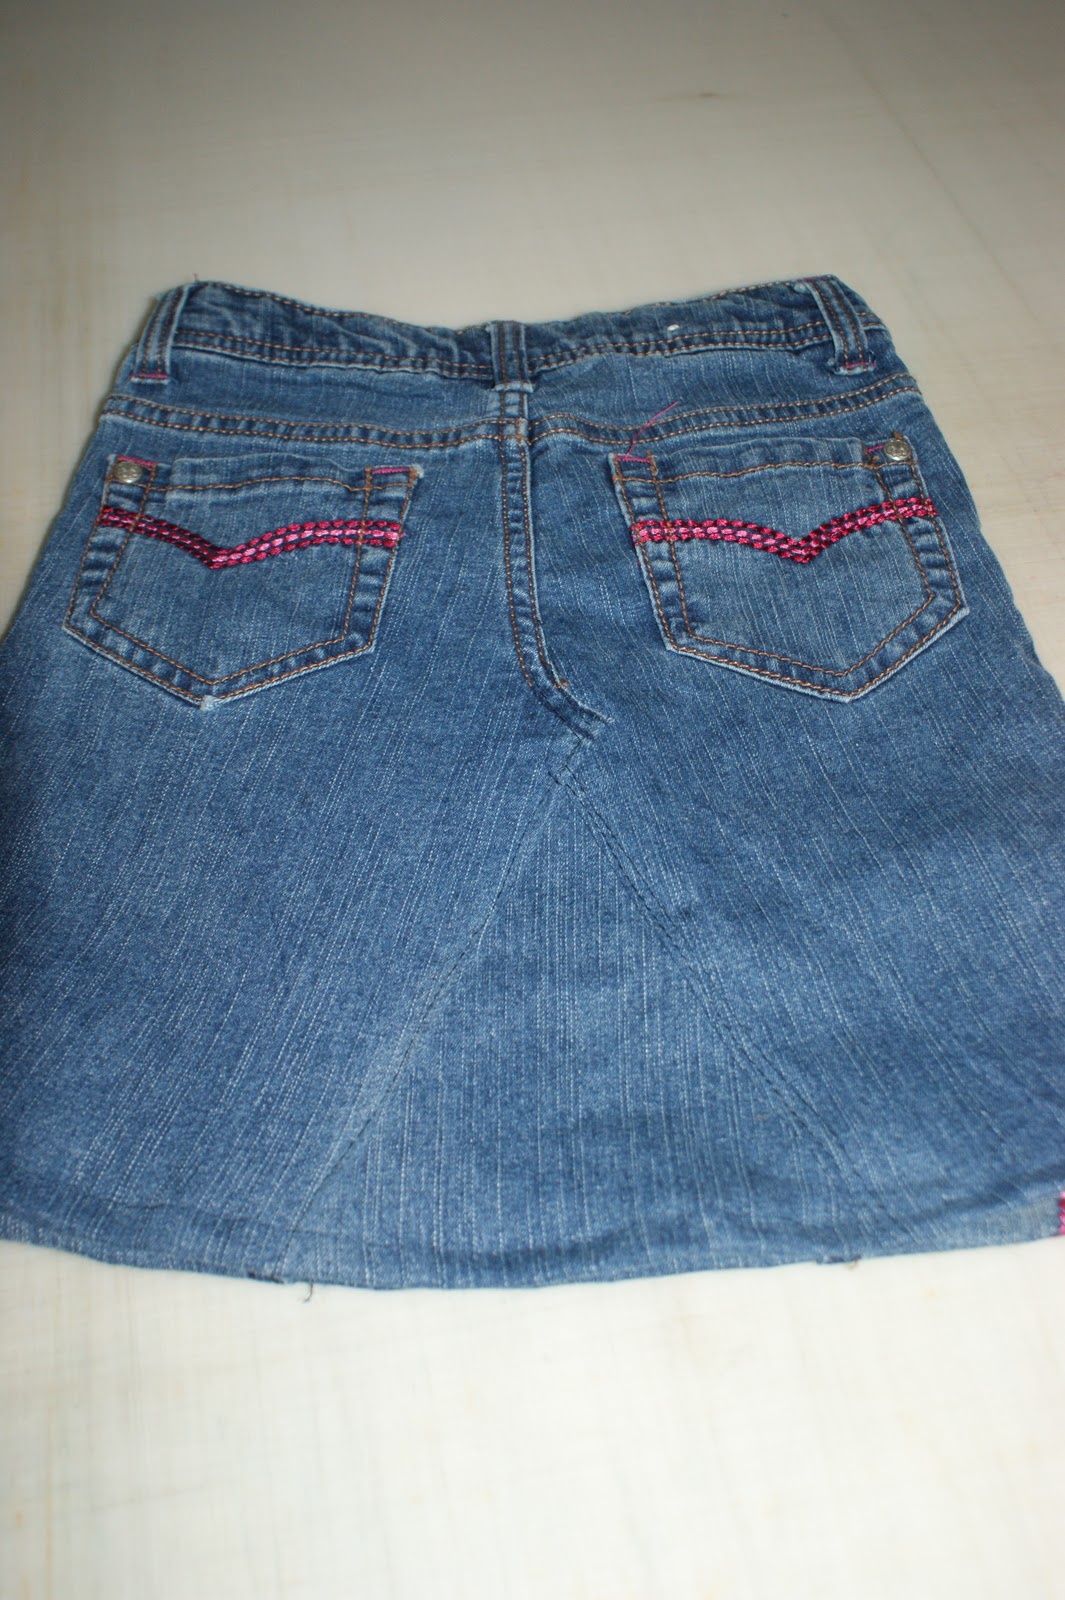
This tutorial is to help you learn how to convert jeans into a skirt! I have done several of these for my daughter, and we also did it as a youth group event. We had a BLAST and the end product was amazing. This can be used to make some very CHEAP very stylish skirts. I bought all these jeans from a thrift store for cheap. I even scored some Calvin Klien, GAP, and NICE Old Navy jeans.
Step 1: Rip out the inseam on the pair of jean.

Step 2: Rip the seam 1/2 way between the zipper and the top of the inseam. (You can also go all the way to the zipper if that will help the jeans lay correctly). Repeat on the back, ripping just past where the back seam stops curving. Usually right about or just above where the bottom of the pockets fall.

Step 3: Cut the legs off to the length you would like the skirt, once the legs are cut off, you can rip the seam holding the pant legs together.
 |
| I use a ruler to cut the legs off straight |

The pant legs still together...

Seam ripping the pants legs apart

What they look like once they are seam ripped apart
*NOTE* Starting here you can go 1 of 2 ways. You can either fill in the opening with the jean legs or with a different fabric. We will start with the basic jean skirt and then work on the different options we have. Follow the directions and mix and match to get the look you would like from here on out :) Options will be denoted by being written in italics, while the basic pattern will be in regular print.
Step 4: Fill in the jean gap with the jean legs you cut off
 |
| Placing the jean piece into the opening. You can see at the top where I pinned down the pointy, curved edge where the crotch originally was. |
Step 5 (options available): Now you must pin down the inner piece, including the piece from the crotch center to the zipper (or where you seam ripped). (For option 1, different piece of fabric please skip down to option 1 directions)
 | ||
| Hopefully you can see the arrows pointing to the pins I pinned this one so it flaps over, you can also pin it so the piece that curves to the L goes straight down, giving you less of a jeans converted to skirt look, and more of a jean skirt look. If you prefer to have it go straight down, just fold the piece under and pink it straight down, making a nice triangle peak at the top of the opening.
|

Step 6: Repeat in the back opening.
 |
| Back piece pinned in |
Option 1: Piece of fabric instead of jean
Step 1: Measure fabric piece
 |
| Laying the fabric out under the jeans |
 |
| You can see me actually measuring here |


Measuring the opening, after checking it against
 |
| I always work from a square piece of fabric, so this is just me measuring it out |
Step 2: Pin the fabric pieces into the center openings
(I pinned this one so it flaps over, you can also pin it so the piece that curves to the L goes straight down, giving you less of a jeans converted to skirt look, and more of a jean skirt look. If you prefer to have it go straight down, just fold the piece under and pink it straight down, making a nice triangle peak at the top of the opening. )


Center panels all pinned in place
Basic Skirt
Step 7: Start sewing
Sew in the front, then repeat for the back
 |
| I always start from the bottom of 1 of the sides, it helps hold everything in place. Make sure you have your extra piece nice and flat, it's easy to get it bunched up before sewing. |


 |
| Sew down from the zipper around the curve and down 1 side of the opening |

 |

Finishing Touches: (Options Available)
Step 8: (Basic) Now all you need to do is hem up the bottom of the skirt. I use a 1/2 hem here, folded under so as to hide all the raw edges.
 |
| Finished Front |
 |
| Finished Back |
 |
| Finished and hanging, sorry it was hanging a little crooked |
Option 1: Bottom Ruffle
Step 1: Measure the skirt panels
 |
| Measure from 1 side seam to the other |


Measuring the front panel for the ruffle
 |
Measure from the side seam, around the back of the skirt,
to the other side seam. (You will have to curve your tape
measure to get an accurate measurement)
to the other side seam. (You will have to curve your tape
measure to get an accurate measurement)


Close up of the measuring tape
Step 2: Measure and Cut the Fabric
You will need to decide how wide you want the ruffle (from top to bottom) and how "ruffly" you will want the ruffle.
Take front panel length and multiply it by something between 1.25- 1.5 (you could probably go to 1.75, but I haven't tried that ruffly yet :). If you are doing a little girls skirt, I would go closer to 1.25" since the more ruffly the wider the ruffle piece needs to be in order to keep it from flipping up.
I used 1.25 on this ruffle and 4" wide (which gave me a 1" hem and a 3" long finished ruffle)
Front Panel Math:
16.5 x 1.25= 20.625 (I rounded to 21") x 4"
Back Panel Math:
31.25 x 1.25= 39.0625 (I rounded to 39") x 4"
Cut out the coordinating ruffle fabric, this will give you 2 pieces. 1 shorter and 1 longer, which will help your side seams match up.
Step 3: Baste Hem into the Ruffle Panels
I do this before I sew anything. I iron a 1" hem into the fabric pieces, at what will become the bottom. This makes it much easier to sew in the hem once the ruffle panel is all sewn together.

Step 4: Prepare the Ruffle


Stitch short raw edges together on either edge. This will give you a circle piece of fabric.
Sew down the hem, it is easiest to do it do it at this stage. This will leave you with a circle piece of fabric, larger than your skirt bottom, with a hemmed bottom edge. Fold over at the ironed section then fold the raw edge under.

Place the basting stitch to form the ruffle. Set your machine with the longest stitch length and the widest stitch width. Sew along the top of the panel at 3/8" and 1/4" (placing 2 rows of stitches will be beneficial if 1 of them breaks while pulling up the ruffle). Stitch only on the panel, from 1 side seam to the other side seam (NOT all the way around). This will actually give you 4 sets of stitches.
Step 5: Create and Sew on the Ruffle


 Pull the basting stitch to gather the fabric up. (I always work on the front panel and then the back). Evenly distribute the ruffles through the panel, then pin in place.
  |
| Close up of pinning after the ruffle has been distributed |
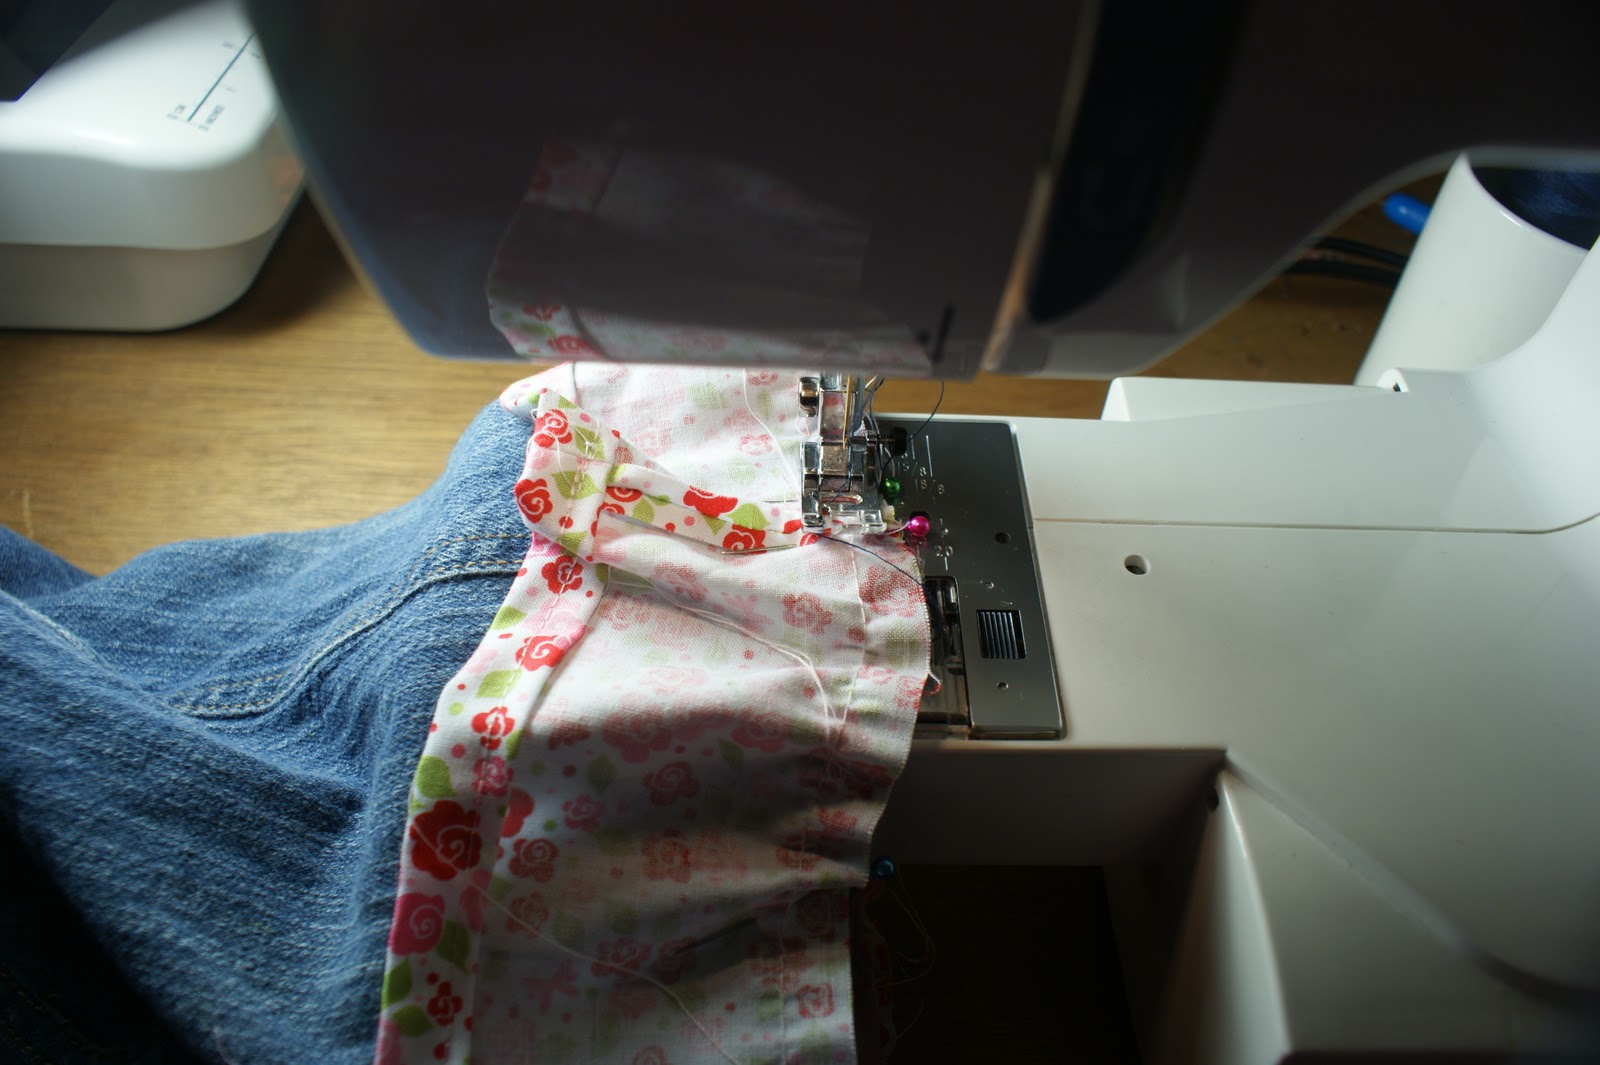
Stitch the ruffle down, using a 3/8-5/8 seam allowance, pulling out the pins as you go. Then pull the basting stitches.

Step 6: Iron the Ruffle down, then topstitch right below the seam where the ruffle is attached.


The Finished Product :)
Option 2: Double Ruffle
(Sorry I don't have any pictures of this one yet, I'm still finishing the skirt :)
This will be the same as the making a ruffle option, except you will be adding a 2nd layer of ruffles.
Step 1: Follow steps 1-6. Making these small adjustments.
(Step 2) When calculating your ruffle measurements, you will want to cut 4 panels, 2 of the panels will be 1-3 inches longer and sit underneath a shorter top layer. Giving the skirt a layered look.
Your math will look like this:
Bottom Layer:
Front panel:
16.5" x 1.25"= 20.625 (rounded to 21") x 6" wide
Back panel:
31.25" x 1.25"= 39.0625 (rounded to 39") x 6" wide
Top Layer: (you will use the bottom layer measurements to figure these)
Front panel:
31" x 1.25= 38.75 (I rounded to 39") x 4" wide
Back panel:
39" x 1.25= 48.75 (I rounded to 49") x 4" wide
Sew the ruffle pieces together as in step #3 (sewing the side seams together, leaving you with 2 circle pieces), and hem the bottom of the top and bottom layers. Place basting stitches in the top layer, and gather the fabric as explained in step #5, then remove the basting stitches
Now, place your basting stitches through the top and bottom layers. Then attach the double ruffle to the skirt as outlined in steps 5 and 6 above.
Option 3: Flat Band
(Sorry there are not more pictures for this one)
Step 1: Follow Step 1 to measure for the band panels.
Step 2: Cut the Fabric
*Remember to add 5/8" to both sides of the fabric measurement to make sure the band will fit properly after you seam it together.*
Cut 2 panels of fabric for the band. Cut 1 the length of the front panel by the width you are looking for (remember to include the hem you would like, I normally add 1", as I find it easy to work with). Cut the 2nd the length of the back panel by the width. This is basically the same as cutting for the ruffle, except you won't need to do large amounts of math :) For instance, given the previous skirt I would have cut a 17.75 x 4" piece and a 32.5 x 4" piece.
Step 3: See step 3 for option 1
Step 4: Sew the side seams of the band together. (This is much like the ruffle, except you will not need to add in the basting stitches, as you won't be doing any gathering). Then stitch the hem into the band.
Step 5: Place the band with the right side facing the right side of the skirt. Stitch down with a 5/8" seam.
Step 6: Iron band down and topstitch the band right below the seam attaching it to the skirt.


The Finished Product
I hope you enjoyed the tutorial. I hope to have more coming out :) I will be altering/ updating this one as I finish more pictures to make some of these steps clearer. (Particularly for the options I don't have lots of pictures of) If there is something you want to see up close or if you have any questions please let me know :)